Others
OpenCV기초
에스더
2021. 3. 24. 17:00
사용된 이미지는 영상처리리에서 시험용 이미지로 자주 쓰이고 있는 lena image이고 이를 sample.jpeg에 저장하여 사용하였다.
import cv2
import numpy as np
import matplotlib.pyplot as plt
1. 이미지 불러오기
img = cv2.imread('sample.jpeg', cv2.IMREAD_UNCHANGED)
img = cv2.cvtColor(img, cv2.COLOR_BGR2RGB)
plt.imshow(img)
plt.show()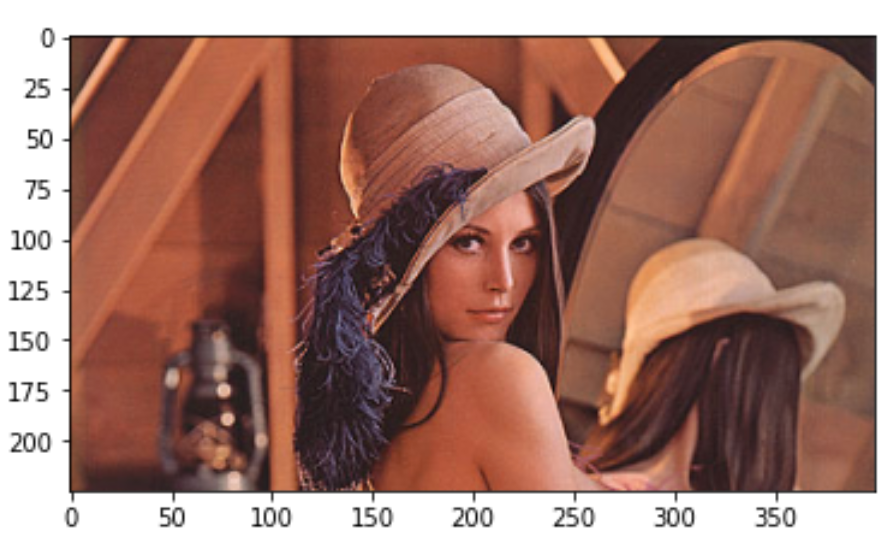
2. 이미지를 흑백으로 변경하고 저장
gray_img = cv2.cvtColor(img, cv2.COLOR_BGR2GRAY)
plt.imshow(gray_img, cmap='gray', vmin=0, vmax=255)
plt.show()

cv2.imwrite('gray_img.jpg',gray_img)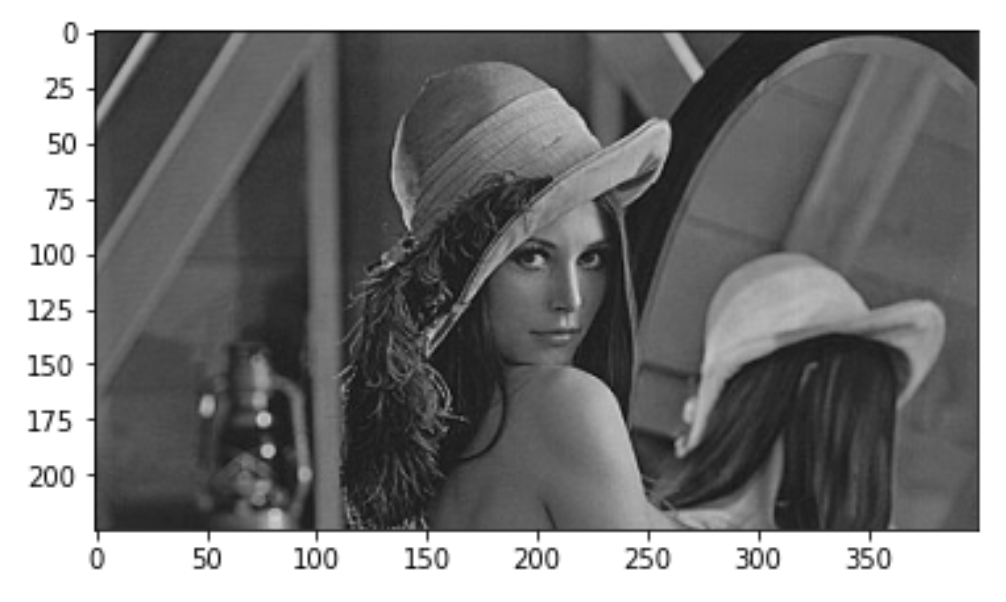
3. 이미지를 200x100으로 리사이즈
new_size_img = cv2.resize(img, dsize=(200,100))
plt.imshow(new_size_img)
plt.show()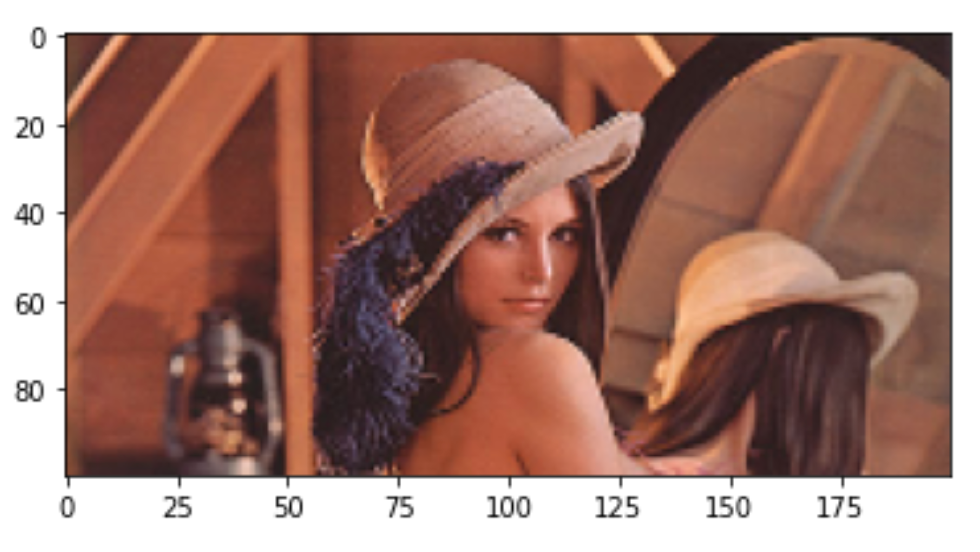
4. 여자를 중심으로 crop하고 좌우 반전
img_cropped = img[13:, 120:262].copy()
img_flipped = cv2.flip(img_cropped, 1)
plt.imshow(img_flipped)
plt.show()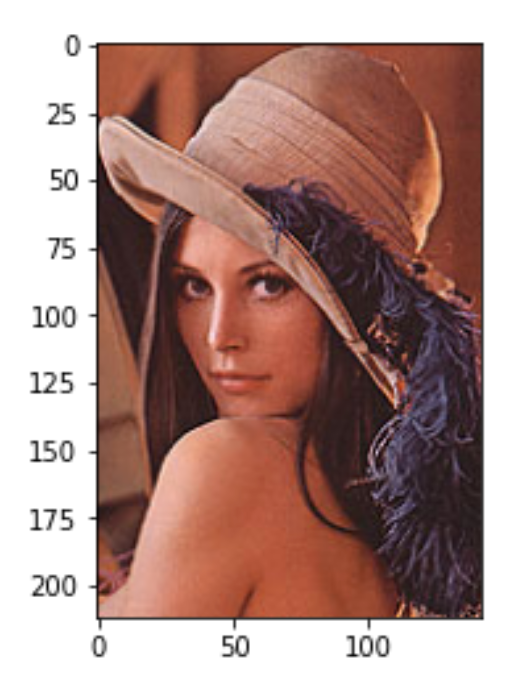
5. 이미지를 hsv채널로 변경하고 시각화
img_hsv = cv2.cvtColor(img, cv2.COLOR_RGB2HSV)
plt.imshow(img_hsv)
plt.show()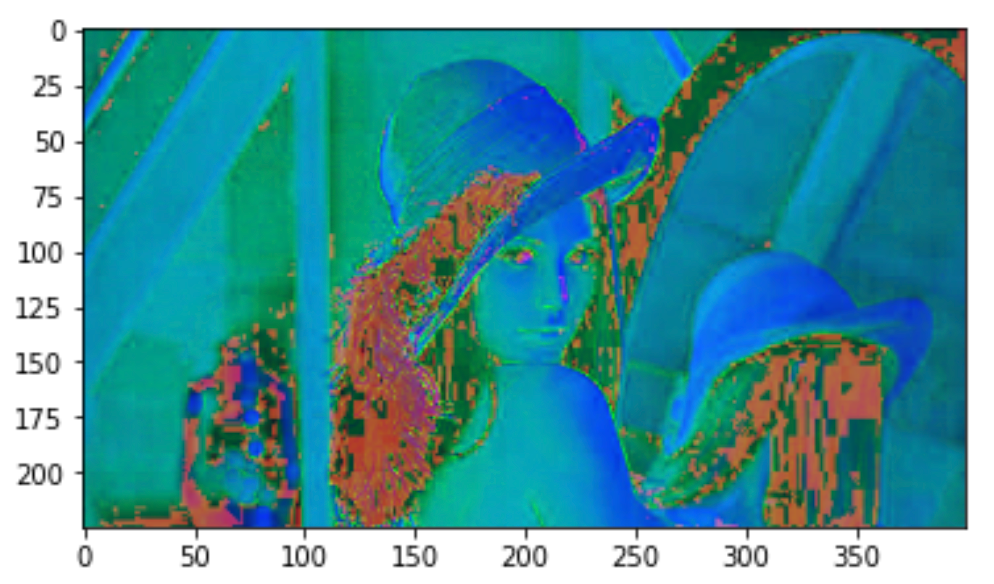
6. Laplacian Filter 적용
laplacian_img = cv2.Laplacian(img,cv2.CV_64F)
plt.imshow(laplacian_img.astype(np.uint8))
plt.show()
7. Canny Edge Detection 적용
canny_img = cv2.Canny(img, 100, 200)
plt.imshow(canny_img)
plt.show()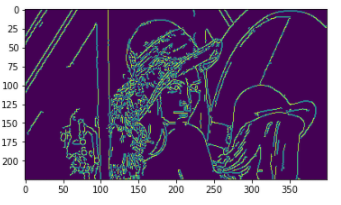
8. Gaussian Blur 적용 (위)
blurred_img = cv2.GaussianBlur(img,(5,5), 0)
plt.imshow(blurred_img),
plt.show()
plt.imshow(img)
plt.show()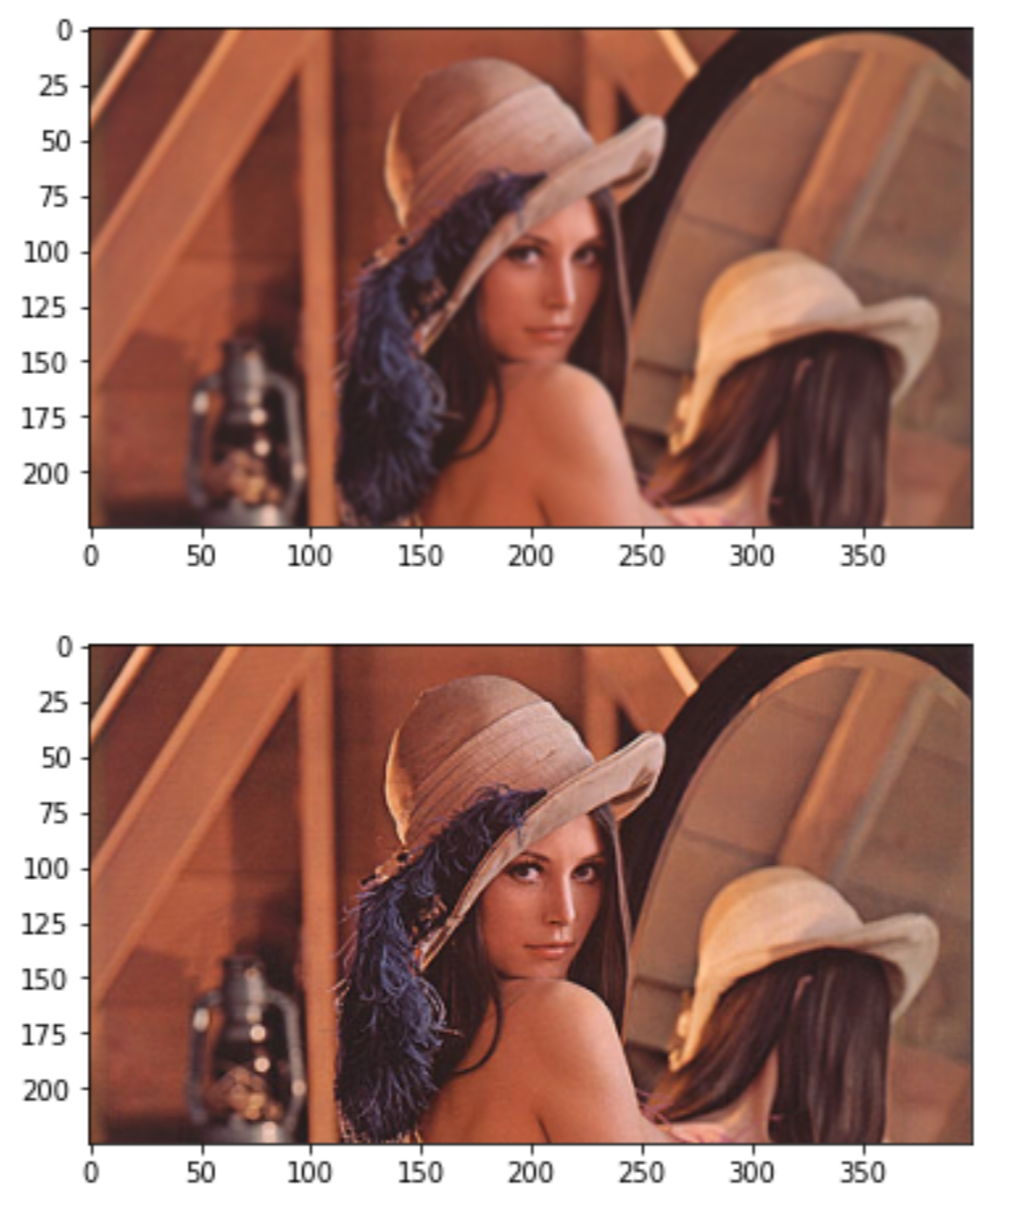
9. Threshold 적용
- 원본사진
_, threshold_img = cv2.threshold(img, 75, 255, cv2.THRESH_BINARY)
plt.imshow(threshold_img)
plt.show()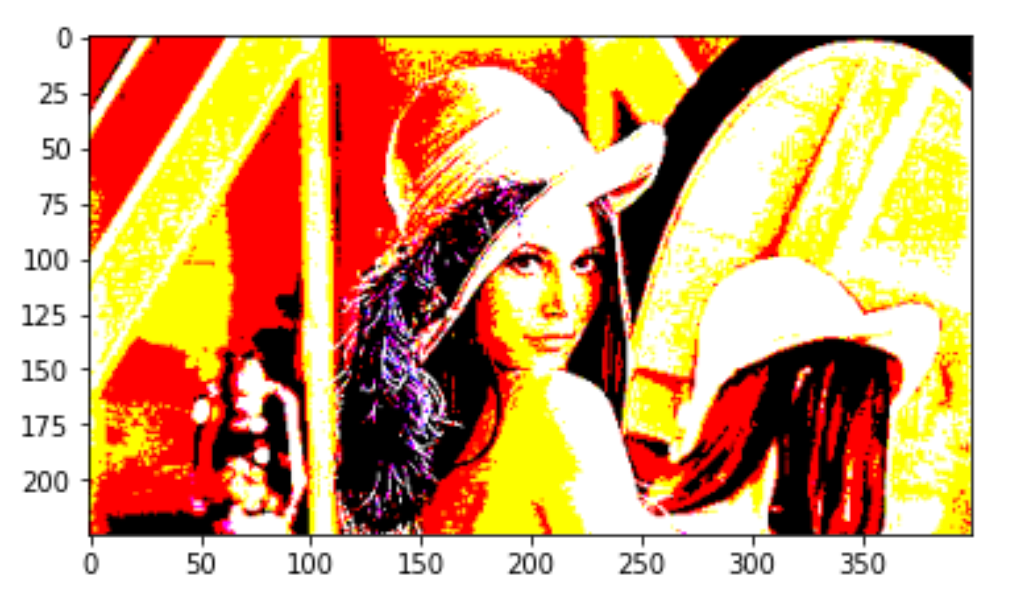
- 흑백사진
_, threshold_img = cv2.threshold(gray_img, 75, 255, cv2.THRESH_BINARY)
plt.imshow(threshold_img)
plt.show()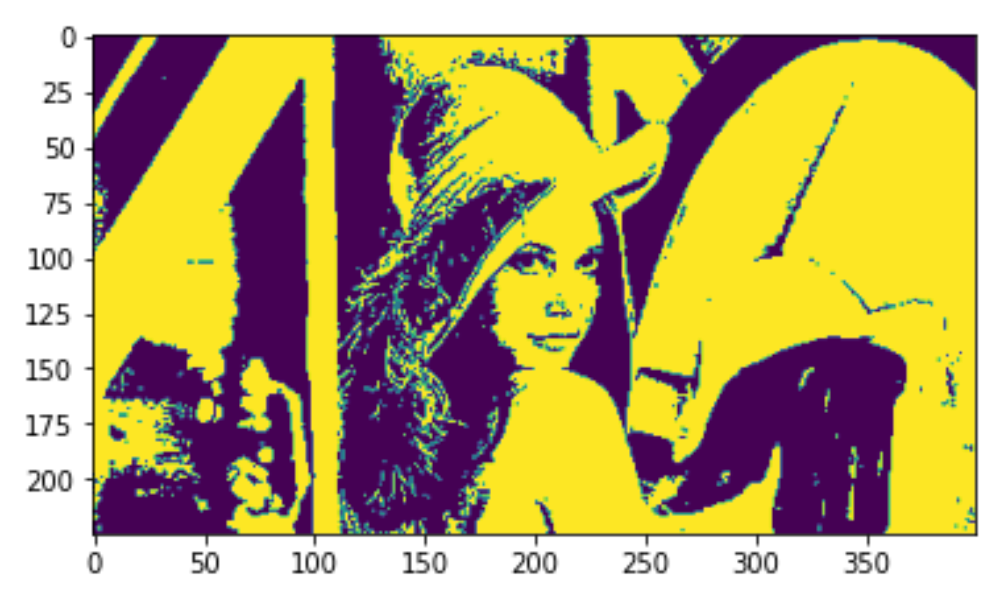
- 함수를 사용하지 않고 threshold를 적용해 본다면
thre_img = gray_img.flatten()
for i in range(len(thre_img)):
    if thre_img[i] >75:
        thre_img[i] = 255
    else:
        thre_img[i] = 0
gray_img = cv2.cvtColor(img, cv2.COLOR_BGR2GRAY)
thre_img = np.reshape(thre_img, gray_img.shape)
plt.imshow(thre_img)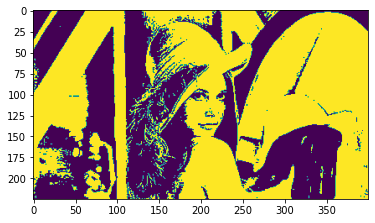
10. 여자 주위에 초록색 박스 그리기
rectangle_img = cv2.rectangle(img.copy(), (120, 13), (262, 175), (0,255,0), thickness=3)
plt.imshow(rectangle_img)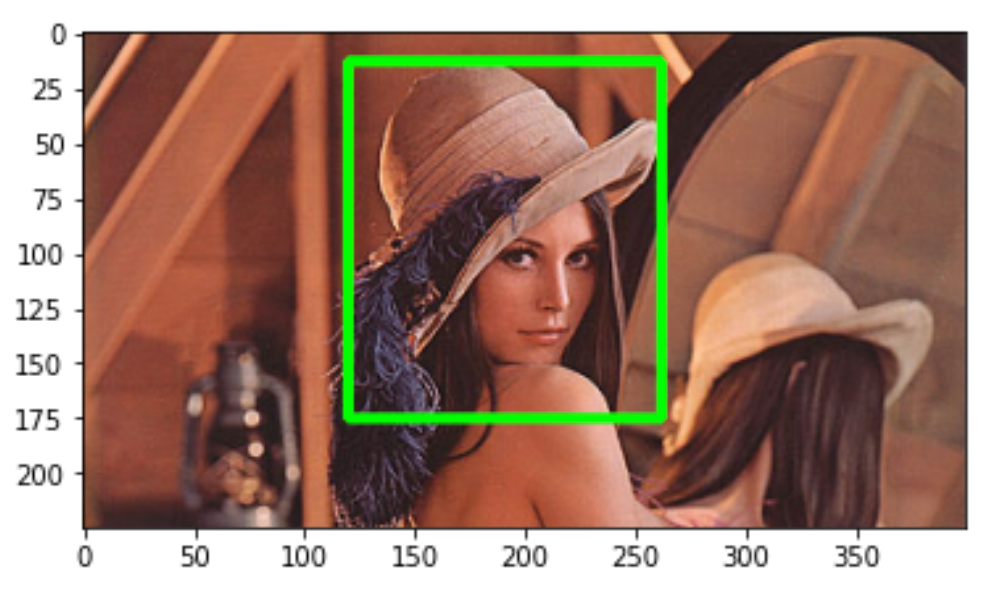
11. 여자 모자의 파란색 깃털을 노란색으로 바꾸기
- 깃털 부분에만 threshold를 적용하기 위해 이미지 crop
feather = cv2.rectangle(img.copy(), (110, 62), (220, 225), (0,0,255), thickness=2)
plt.imshow(feather)
plt.show()
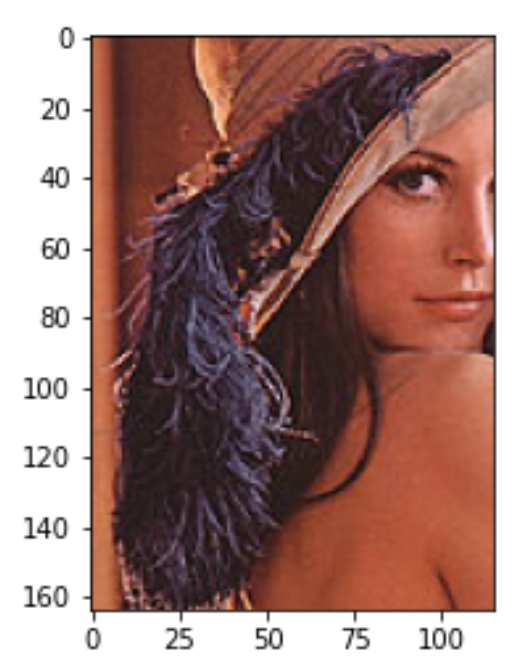
img_crop = img.copy()
feather = img_crop[61:225, 105:220].copy()
plt.imshow(feature)
plt.show()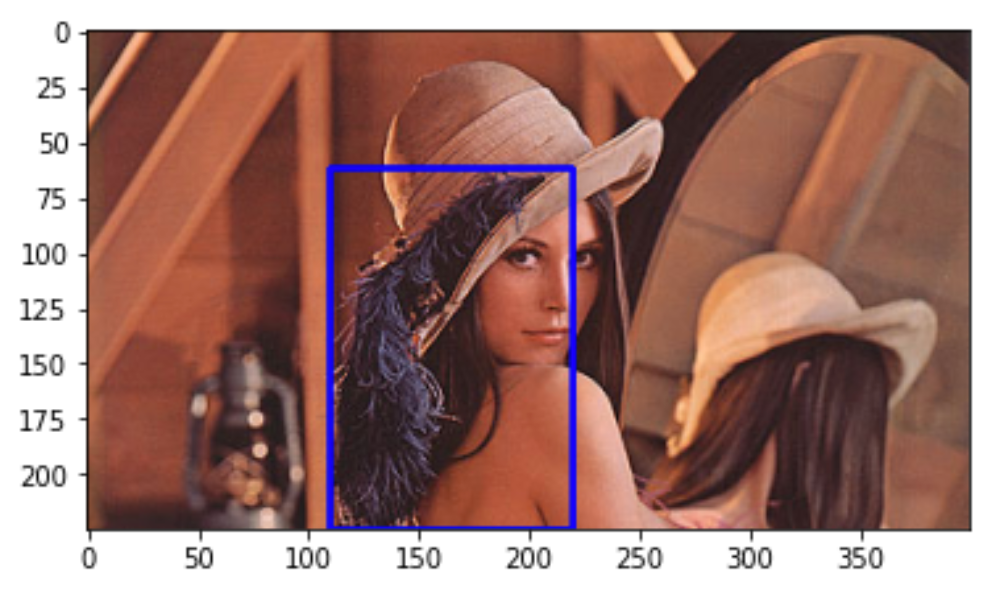
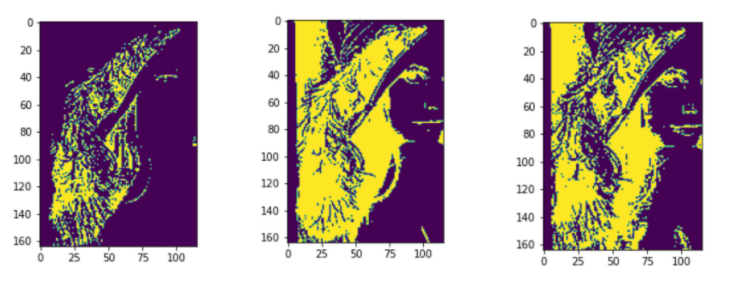
- 각 컬러 채널에 threshold를 적용해가며 확인
plt.imshow(feather[:,:,0] < 50)
plt.show()

plt.imshow(feather[:,:,1] < 60)
plt.show()

plt.imshow(feather[:,:,2] < 50)
plt.show()
- 이를 적절히 조합하여
feather_copy = feather.copy()

feather0 = list(feather_copy[:,:,0].flatten())
feather1 = list(feather_copy[:,:,1].flatten())
feather2 = list(feather_copy[:,:,2].flatten())

empty = [0]*164*115
for i in range(len(feather0)):
    if (feather0[i]<65 and feather2[i]>40):
        if feather0[i] + 150 <255:
            feather0[i] += 150
        else:
            feather0[i] == 255

        if feather1[i] + 150 <255:
            feather1[i] += 150
        else:
            feather1[i] == 255


        if  feather2[i] - 100 >0:
            feather2[i] -= 100
        else:
             feather2[i] = 0


feather0 = np.reshape(feather0, feather_copy.shape[:2])
feather1 = np.reshape(feather1, feather_copy.shape[:2])
feather2 = np.reshape(feather2, feather_copy.shape[:2])

f = np.full(feather_copy.shape, (0, 0, 0))
f[:,:,0] = feather0
f[:,:,1] = feather1
f[:,:,2] = feather2

plt.imshow(f)
plt.show()
plt.imshow(feather)
plt.show()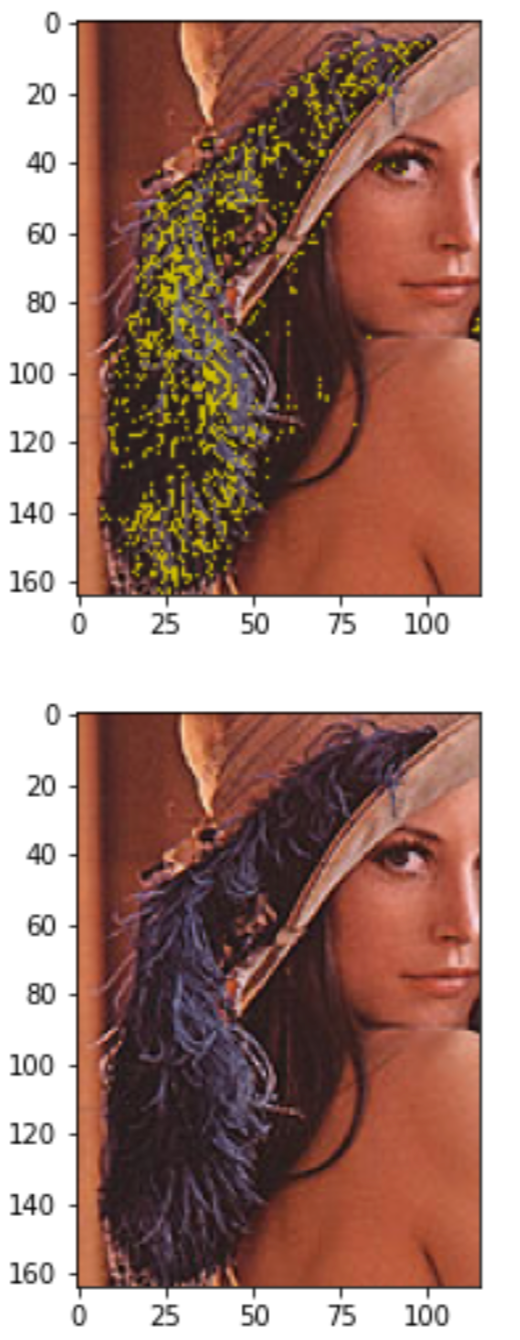
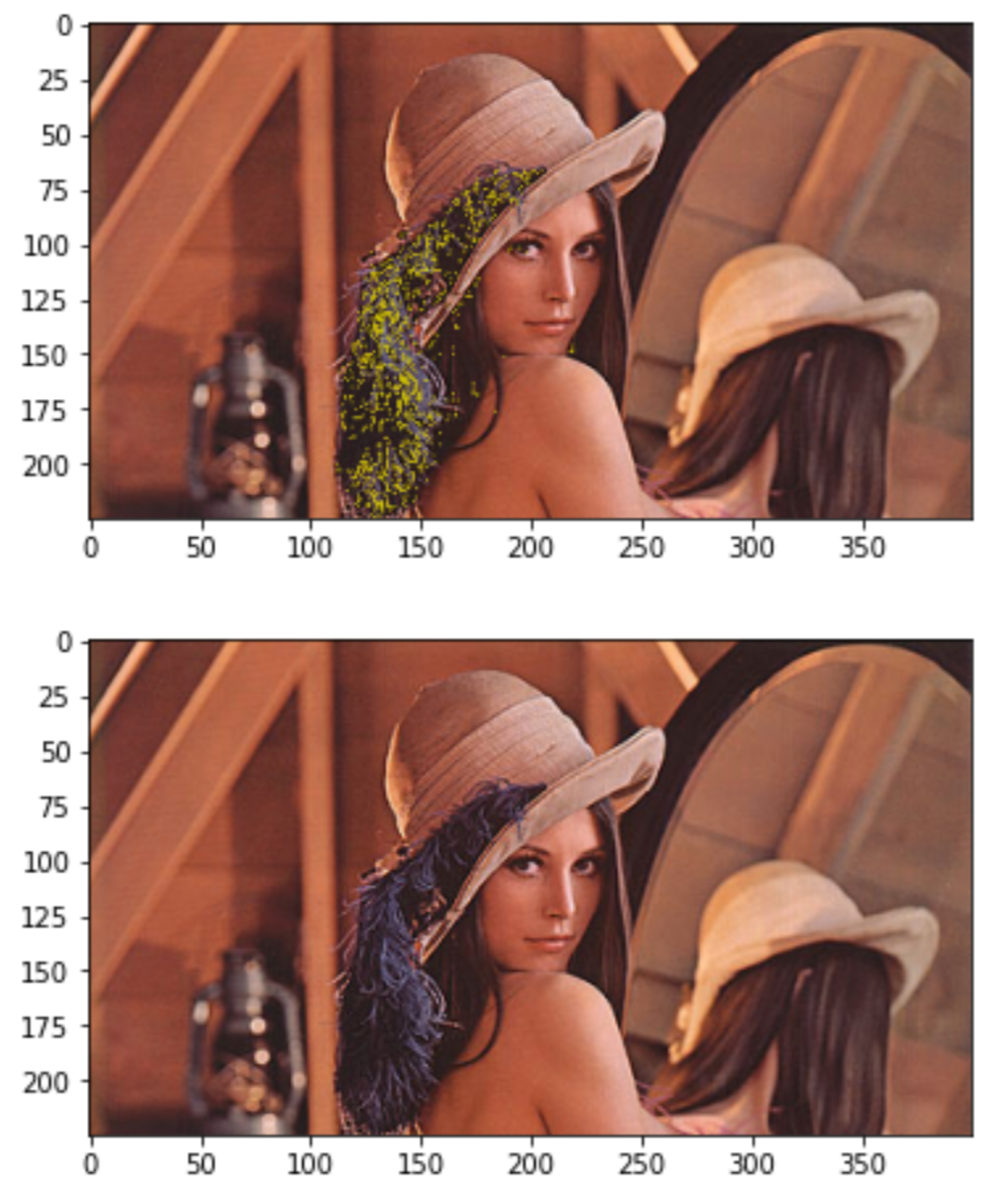
- 깃털이 노란색으로 바뀐 사진을 가지고 전체 사진에서 같은 부분을 대체하면 완벽하지는 않지만 깃털에 노란기가 돌게 변경 가능
new_img = img.copy()
new_img[61:225, 105:220] = f.copy()
plt.imshow(new_img)
plt.show()

plt.imshow(img)
plt.show()